Guide to Teaching with RemoteHQ
RemoteHQ is a versatile tool that may have online teachers leaving Zoom, ClassIn, and other teaching platforms. It is not a tool made specifically for teaching, but the environment is effective when used in online ESL classrooms. The main feature is the co-browsing Remote Browser. This will unlock the interactive activities in Going Up ESL Curriculum and others. Your student will be able to click the interactive functions while on a computer, tablet, or even a cell phone when teaching with RemoteHQ!
Follow this Step-by-Step Guide to start experimenting with RemoteHQ’s functions and decide if it is the right tool for you. We will be writing up a full review about teaching with RemoteHQ and other co-browsing programs soon. Make sure to sign up for a free teacher account to get updated.
RemoteHQ has a 3 day trial period for $3. Get $18 free credit! We will also get a small credit when you sign up using this link.
Setting Up to Teach with RemoteHQ:
- Navigate to https://www.remotehq.com.
- Click “Get Started” in the navigation menu to create a new account or click “Log In“.
- Once inside your dashboard, hit “New Room” to begin building your student’s classroom.
- Name your new Room. I like to name them something like “Josh’s English Class”
- You can upload a special class image if you want.
- For Video Conferencing, select On.
- For Privacy Settings, select Public.
- Hit “Create Room” and viola, your classroom is created!

Starting a Class Session:
- From the Dashboard hit “Start Session“.
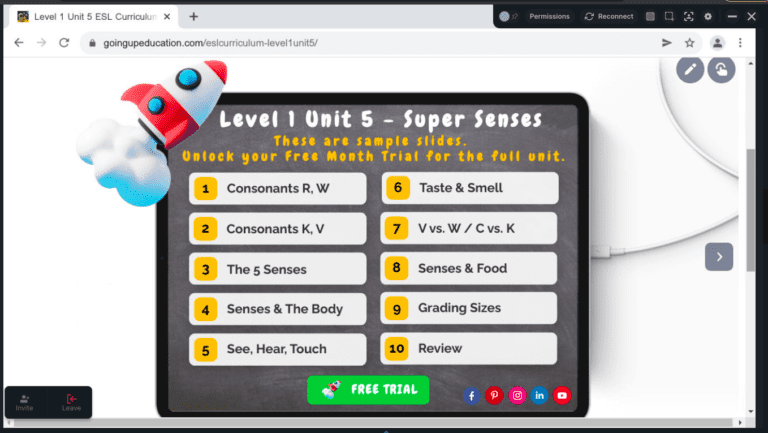
- The Remote Browser tab will open automatically for co-browsing.
- If using Going Up Curriculum, you can navigate to the Curriculum Control Center and choose your unit.
- The interactive functions are now clickable for you and any students you invite into the session.
Inviting your Student:
- In the bottom left hand corner, click “Invite“.
- Copy the link and share to your student in your preferred messaging app or email. (The link will always be the same, so you only need to do this step once.)
- When the student attempts to enter, you will hit the “Let into Session” button.
- From there it will prompt you to adjust your camera and microphone settings.
- Click “Start Collaboration“.

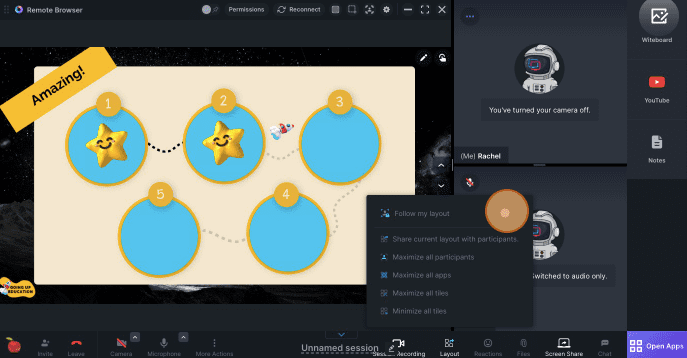
Arranging the Layout:
- You can arrange the layout however you like by clicking and dragging different components and sliding the sliders.
- I like to put my video and the student’s video stacked on the right side with the Remote HQ Co-browser on the left taking up most of the screen.
- When you are happy with it, hit “Layout” in the bottom menu.
- Click “Follow my Layout“. Now the student will see the same layout as you.
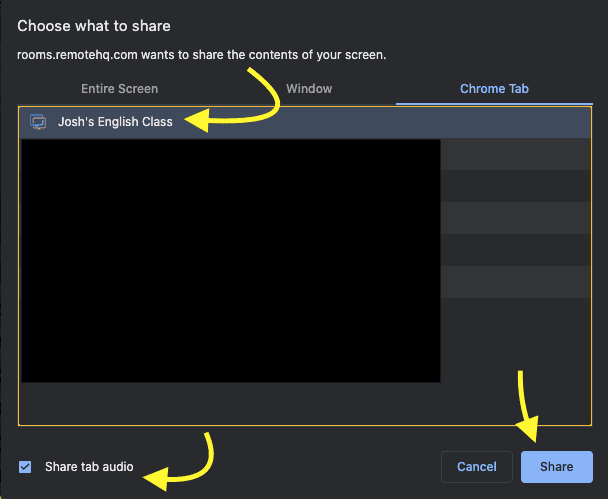
How to Record the Class with Remote HQ:
- Hit “Open Apps” in the bottom right corner.
- Hit “Session Recording“.
- It will prompt you to choose between recording the entire screen, a window, or a Chrome tab. I always choose the tab with the Room Session open.
- Make sure to hit “Share Tab Audio” .
- Hit “Share“.
Other Functions in the Bottom Menu:
- Reactions: Choose a fun emoji to bring a smile to your student’s day. The emoji will display over your video feed.
- Files: Drag/Drop or Upload a file to bring it into class. Files are saved in the session summary and can be accessed by you student later.
- Screen Share
- Chat: The contents from the chat box are also saved in the session summary.
- More Actions: Here you can adjust the video quality, mute/unmute participants, and change your background.

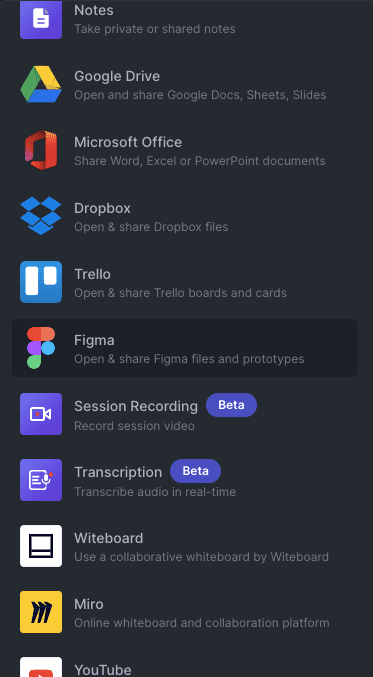
Useful Apps:
- Notes: This is your go-to app for writing feedback or notes to yourself about the student. You can “pin” the notes so that they will stay there until your next session. Adjust the permissions to “Private for Members” so that only you are able to see the feedback notes.
- Google Drive: Connect straight to your Google Drive account to open up a lesson plan or activity.
- YouTube: Watch a short video to spark conversation with your student. (Note: If your student is in China and not using a VPN, the YouTube may not show up for them.)
- Witeboard: Let your student doodle or type information here.
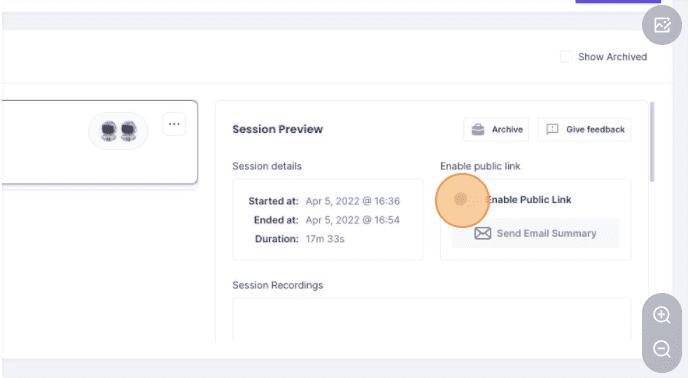
After Class:
- When you leave the class session, it will take you to the summary page.
- Rename the session from “unnamed session” to something like “English Lesson 4/5/22”.
- Hit “Enable Public Link“.
- You can copy this link and share once to the parents. They can return to this page to view the class notes, any documents that were shared, and the class recording.
- Hit “Send Email Summary“. The parent will get an email with a link directing them to the summary page.